Handmade gifts have always been my favourite to both give and receive. Not only do you get a unique gift, but knowing that time and extra love was put into it always makes it that much more special.
If you’re planning on making handmade gifts this holiday season, but don’t know where to start, we’re here to help!
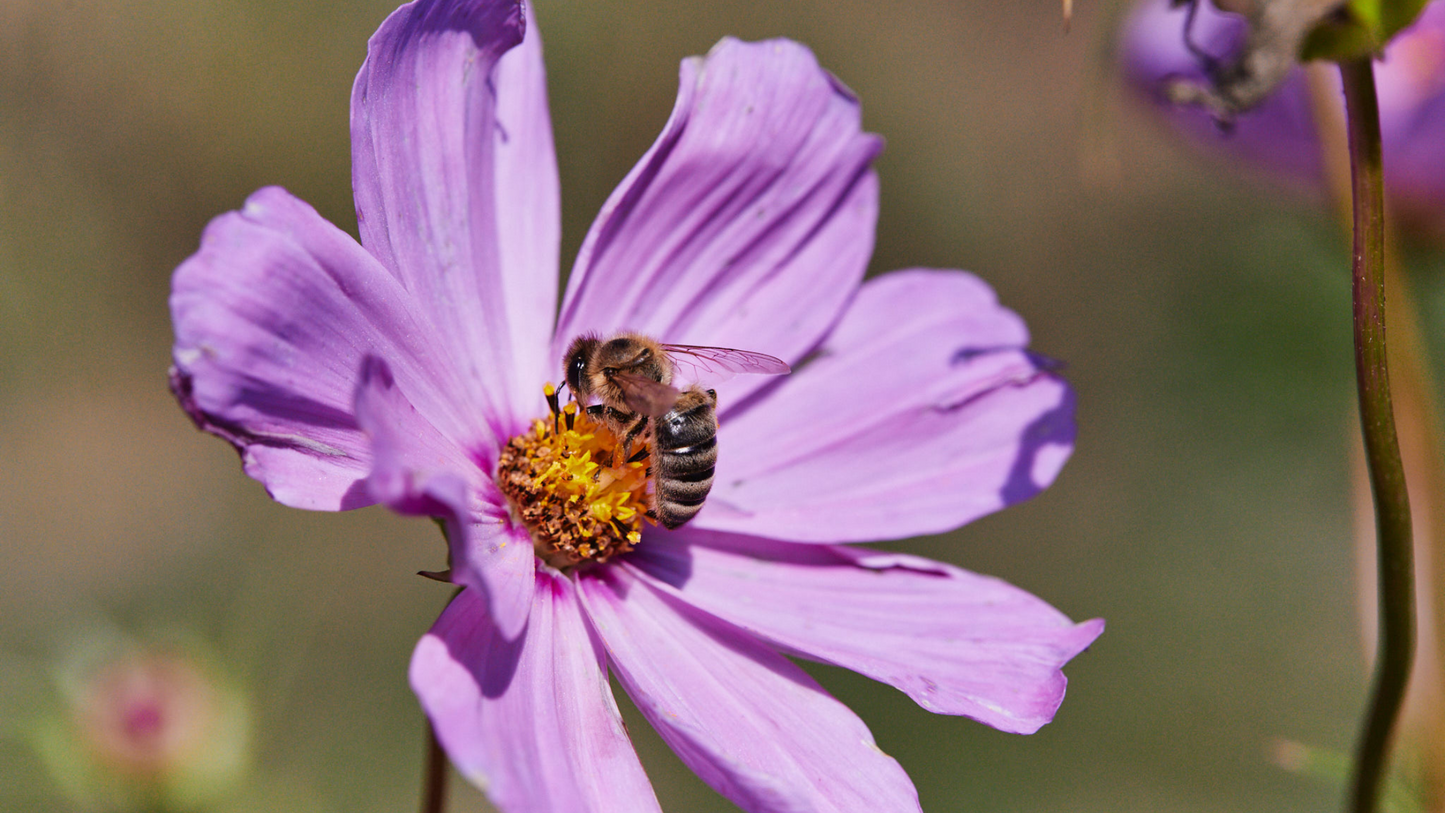
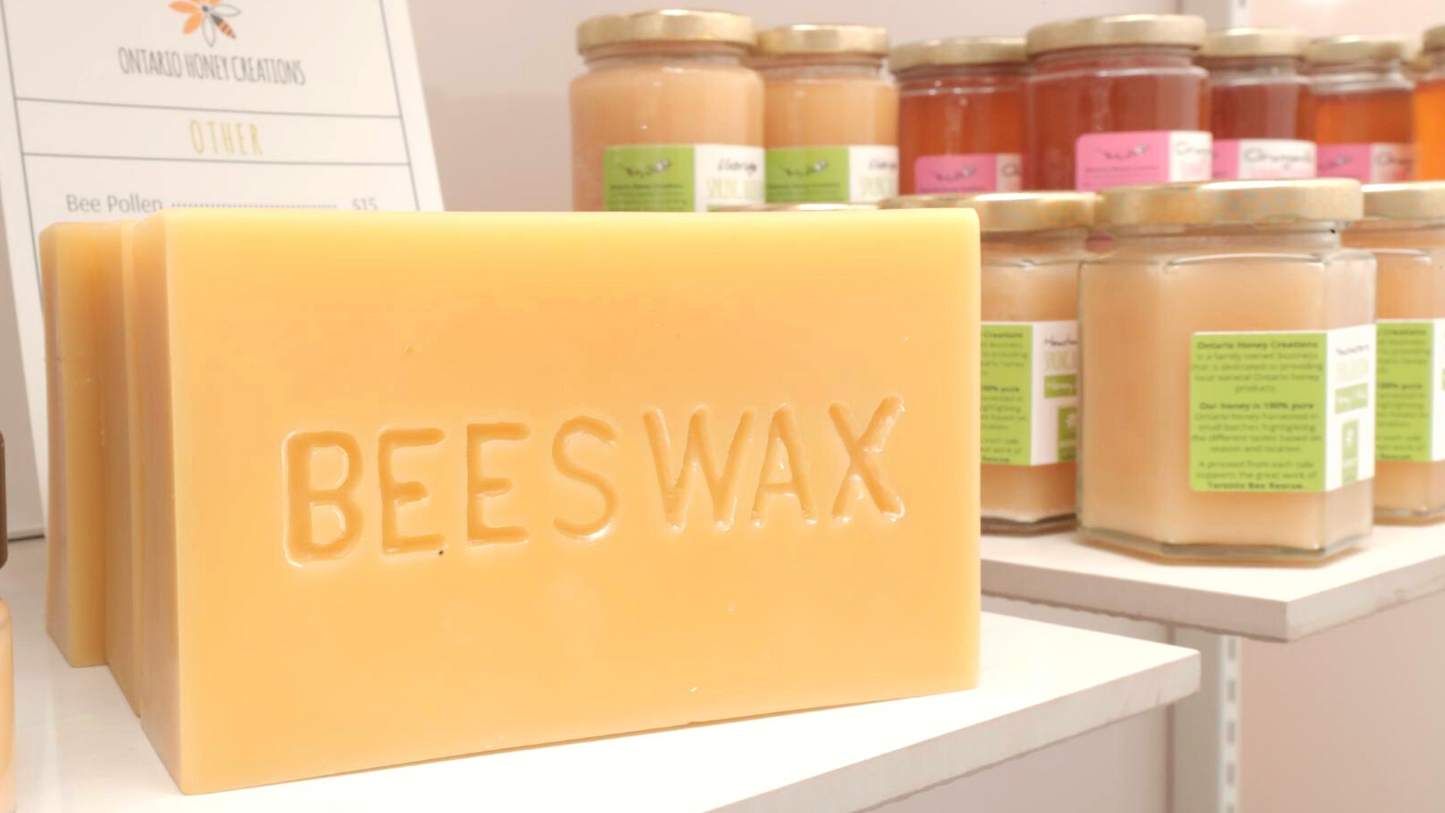
When most people think of honeybees, they think of honey, but as a beekeeper, I can’t help but think about beeswax. It is such a versatile product, and since it is considered a natural by-product of honey, using it to make handmade gifts means nothing goes to waste.
Honey by itself makes a great gift, but there are more uses for honey than just eating it. The benefits of honey make it an amazing ingredient for skin and hair products.
DIY Honey Gifts
Honey & Sugar Body Scrub
The moisturizing properties of raw honey make it amazing for your skin! This body scrub will leave your skin feeling soft and smelling amazing, and is super easy to make.
There is no need to follow a strict recipe here, just mix equal parts raw honey and brown sugar in a small glass jar. Optionally, you can add a few drops of your favourite skin-safe essential oil.
Use as a weekly exfoliator in the bath or shower. Avoid use on the face.
Honey & Aloe Face Mask
When I think of natural ingredients that are great for your skin, raw honey and aloe are at the top of my list! Both ingredients are great moisturizers, reduce redness and inflammation, and soothes the skin. If you, or someone you know, deals with acne or pimples, this face mask is what you need.
Growing your own aloe is the best way to get fresh (and free) aloe vera gel, also, in my experience, is one of the easiest plants to care for. You can also find aloe vera leaves at certain grocery stores, and in a pinch use pure aloe vera gel you can find in bottles at your local pharmacy.
If using fresh aloe leaves, lay the aloe on a cutting board and cut along the sides of the plant, removing the spiky edges. Next, cut down the center of the leaf, exposing the gel on the inside. Using a large spoon, scrape the gel off each side of the leaf and place into a medium bowl.
Next, add an equal part of raw honey to the bowl and mix with two forks, pulling the aloe vera gel apart. You can also use a hand mixer if you would like a more consistent texture.
Transfer the face mask to a small glass jar.
This face mask is gentle enough to use daily. Apply to clean face and let sit for 10-15 minutes, then rinse with warm water.
Honey & Coconut Hair Mask
There is a reason why you see honey and coconut oil in so many hair products you see on store shelves. However, these products typically only contain a small amount of these amazing ingredients. By making it yourself, you receive 100% of the benefits and are 100% in control.
To make this hair mask, you can work with solid, but softened, coconut oil, or liquid coconut oil. Personally, I prefer working with softened oil to avoid heating my honey.
To make this hair mask, add equal parts coconut oil and raw honey to a medium size bowl.
If your oil is softened, use an electric mixer to whip the oil and honey together. If your oil is liquid, you can easily use a whisk to mix. Optionally, you can add a few drops of your favourite skin-safe essential oil.
Transfer the hair mask to a small glass jar and allow it to sit in a cool place to solidify.
Use weekly by applying to clean damp hair and letting sit for 20 minutes. Rinse with warm water.
DIY Beeswax Gifts
Working with beeswax is a lot more involved, and unlike the DIY honey gifts, these projects require more supplies. Melted beeswax is also very hot, take caution while working with it and lay out old cloth or newspaper to make clean up easy.
DIY Beeswax Candles
To make beeswax candles, you can use glass jars or silicon candle modes. I enjoy visiting my local thrift shops to find small shallow jars, perfect for candles.
In addition to a jar and beeswax, you will also need candle wicks with clips. Candle wicks are easy to find online or at your local craft store.
Attach the wick to the bottom of your jar with a little bit of glue.
Melt your beeswax in a double boiler. Always melt wax in a container you don’t mind ruining, as wax can be very difficult to clean, especially for beginners.
Carefully pour melted wax into your prepared jar. You can use clothes pins, pencils, or popsicle sticks to hold the wick up straight as the wax hardens.
Trim wick to ¼ - ⅛ inch before burning.
DIY Beeswax Fire Starters
If you know someone who has an indoor fireplace, this makes the perfect gift to warm up Christmas morning.
What You’ll Need:
- Muffin tin
- Paper muffin liners
- Beeswax
- Pinecones
- Optional: dry herbs
Instructions:
- Place the paper liners into the muffin tin
- Add a pinch of dried herbs to the bottom of each muffin tin
- Melt beeswax in a double boiler
- Carefully pour melted beeswax into each muffin cup until they are ⅔ full
- Add 1 large, or 2 small pinecones into each wax filled muffin cup
- Allow to dry overnight
To Use:
Place the beeswax firestarter in the middle of the fireplace with a few pieces of dry kindling. Carefully light the top of the pinecone. Enjoy the scent of the beeswax and dry herbs as the wax begins to melt. Slowly begin adding larger pieces of firewood.
Credit: https://joybileefarm.com/pine-cone-fire-starters/
DIY Beeswax Food Wraps
Beeswax food wraps are a must have in any kitchen. They are reusable, easy to clean, and great for the environment. For the fabric, 100% cotton is recommended. You can use old clothing, sheets, or visit your local craft/fabric store to find some amazing patterns.
What You Need:
- 100% cotton fabric - cut into various sizes
- Beeswax, shredded
- Clothes Iron
- An old towel
- Scissors
- Parchment paper
Instructions:
- Prepare your fabric by washing and drying it. Cut the fabric to your desired sizes. Optionally, you can hem the ends of the fabric, or leave as is for a raw look.
- Shred your beeswax using a box grater.
- Lay your old towel on a flat, hard surface.
- Cover your towel with parchment paper. Place your fabric on top, then sprinkle the shredded beeswax over the fabric. Cover the top with another layer of parchment paper. Ensure that there is 3-5 inches of parchment overlapping the fabric on every side.
- Begin ironing on the top layer of parchment paper, melting the beeswax beneath. Use the pressure of the iron to spread the melted beeswax across the fabric.
- Once coated, allow to cool for 2 minutes before removing the parchment paper.
- Flip the fabric over and repeat on the other side.
DIY beeswax wraps are often not as sticky as commercial ones, but they still do the job. Use to cover bowls or store low moisture foods such as cheese. You may need to warm the wraps up slightly in your hands if they have been in the fridge.
To clean, use cold water only, as warm or hot water can melt the beeswax. You can use a mild dish soap as well. Do not soak in water. Allow to air dry.
To maintain the wraps, iron between two sheets of parchment paper to remove any creases from folding.
Credit: https://www.littleyellowwheelbarrow.com/diy-beeswax-wraps/
DIY Beeswax Christmas Ornaments
Beeswax ornaments let off a gentle scent while adding a natural touch to your Christmas decorations. To make these you will need silicon molds, such as molds for chocolate or soap making.
Melt beeswax in a double boiler, pour melted wax into mold, then add a ribbon or string to the top where you would like it to hang.
Allow to harden overnight then remove from mold.